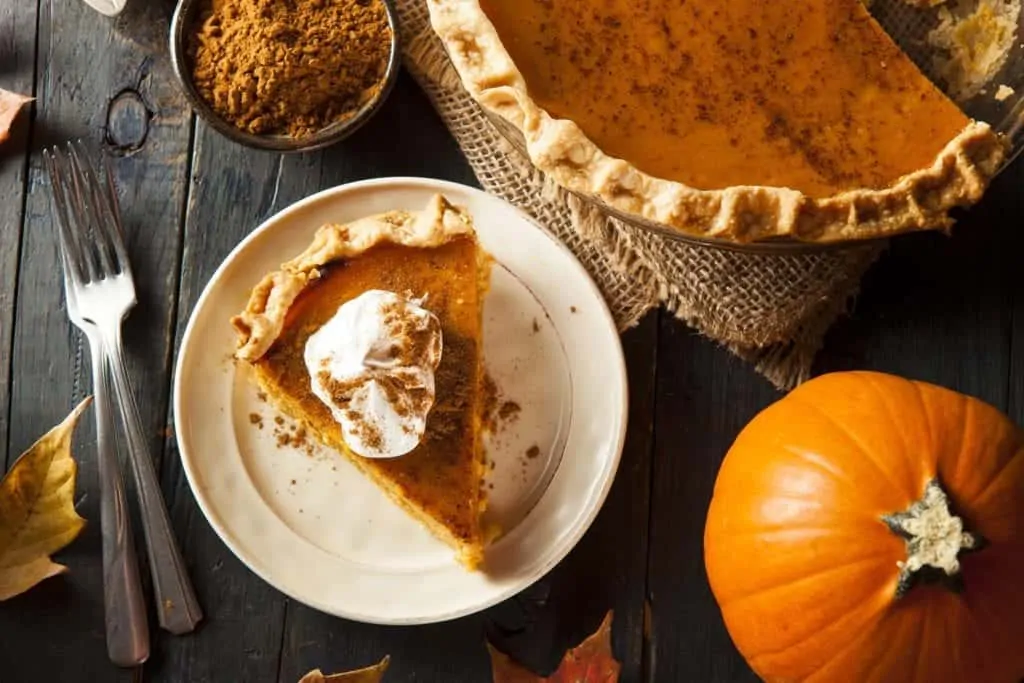
Autumn has arrived and with it this pumpkin pie recipe becomes super popular, not only among Americans but also worldwide.
Preparing this recipe for Thanksgiving or Halloween is a tradition year after year that we can’t miss.
Enjoying the irresistible flavor and crunchy texture of the just-baked pumpkin pie is a wonderful pleasure.
In other regions it is also known by the name of___ but if you are in the United States, the birthplace of this delicacy, you’ll hear the acclaimed name of the pumpkin pie everywhere.
Contenido
What’s the origin of the pumpkin pie?
Do you know the whole story concerning the authentic pumpkin pie? As you may imagine, all great recipes have a fascinating story behind them.
The pumpkin pie is one of those famous recipes that besides not being created by the Americans in first place, was modified by them until they made it their own.
The truth is that the base of this recipe arose when the first immigrants and colonists arrived in the land is now known as the United States.
American natives offered them simple dishes elaborated with the crop of their harvest, but they weren’t very liked by the new inhabitants of North America.
So, they adopted a new form of preparing them, baking the pumpkin stuffed with spices, cream and eggs over the fire until preparing a kind of cream or pure.
This recipe was the salvation for the newcomers so they could overcome the intense winter of this region and the scurvy disease (due to low levels of vitamin C) they were suffering.
This was how the first version of what we know today as pumpkin pie was created, in those days the crunchy texture was simulated by the baked skin of the pumpkin.
How to make homemade pumpkin pie?
Making pumpkin pie is very simple although it requires several steps. The result is marvelous, having a quite crunchy base and an inside so creamy we are sure you’ll love it.
You’ll see how much you’ll enjoy preparing it at home; you won’t need to go to the supermarkets any more to buy the commercial version.
Its preparation consists basically of two steps, one for the broken dough that will be the base and the other for the stuffing.
There are those who use canned or previously elaborated pumpkins in an industrial way in order to save time, nevertheless, we prefer using the cream or puree from the natural pumpkin, prepared from square one at home by adding some spices. We assure you this will give it a delicious flavor.
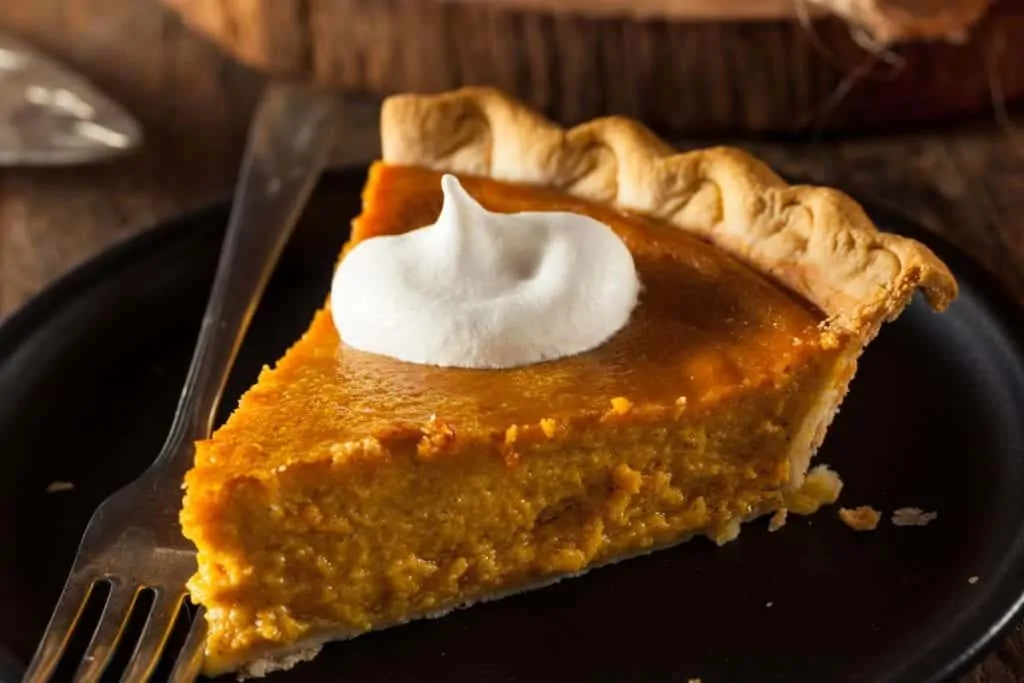
Pumpkin pie is traditionally served with whipped cream, but you can make the decoration you’d like once you get it ready after you’ve followed the step-by-step process, we explain next.
Pumpkin pie recipe

Ingredients
For the base
- 250 grams of common all-purpose flour
- 10 grams of confectioners’ sugar
- 150 grams of butter
- 3 egg yolks
- 1 teaspoon of vanilla essence
- 1 teaspoon of salt
For the stuffing
- 3 eggs
- 2 tablespoons of melted butter
- 75 grams of brown sugar
- ½ a teaspoon of cinnamon
- ½ a teaspoon of nutmeg
- ¼ of a teaspoon of ground clove
- A pinch of salt
- 600 milliliters of whipped crea
Utensilios
Step by step how to prepare
- Let’s begin to make the base by mixing the butter and the sugar with a spatula; both should be at room temperature. After they are well-integrated, continue mixing for two minutes until the mixture becomes clear.
- After this, add the egg yolks along with the vanilla essence and continue mixing until you get a homogenous cream with all of the ingredients well-integrated.
- Sift the flour and the salt with the help of a colander if you don’t have a sifter and add it in two bunches over the previous mixture. After the first half is well-integrated, add the second and mix it well.
- Once the dough is ready, put it on film paper pushing it down and stretching it a little bit with your fingers. Then, put it in the refrigerator for 30 minutes so it gets a thicker consistency.
- After this time, with a rolling pin stretch and flatten the dough; you can do this on the same film paper as before so that when you put it in the pie mold it doesn’t fall apart. On the other hand, you can also roll it on the countertop with a little bit of flour so it doesn’t stick.
- Stretch the dough so that it’s a little larger than the mold. Similarly, to avoid it breaking, you can wrap it on the rolling pin and help it into the pie mold.
- Cut the parts of the dough that hand out outside of the mold (you can save them to make an extra decoration in the end). When the dough is completely ready in the mold, pinch the edge with a fork all the way around.
- Put aluminum foil over the dough and on top of that add something as a weight, it could be beans or another legume or ceramic balls. Put it in the refrigerator for another 20 minutes.
- Later, bake the dough in an oven preheated to 180C for 15 minutes, until the dough becomes harder but not until it becomes golden.
- Now it’s time to prepare the filling, and to do that we make a homemade pumpkin puree, and we recommend you start to prepare it the day before to save time. Chop the pumpkin and boil it with two tablespoons of brown sugar on low heat until when you put a fork in it, it comes out clean.
- Begin to crush the cooked pumpkin with a fork or a spatula in order to get a cream or a puree that is thick enough. Let it cool to room temperature.
- Add the beaten eggs, the butter, the sugar, the spices, and the salt to the puree that is now cool and save it.
- In the blender, add the cream and make sure that the cream and the container and the spokes of the blender are cold. Once it’s added add the puree, surrounding the cream.
- Add this mixture to the broken dough we made before for the base of the pie and bake it again for ten minutes at 200C, lower the temperature to 180C and continue baking it for 20 or 30 minutes until the filling is firm and the borders of the piecrust are a bit golden.
- You should be very careful so that you do not burn yourself, the cook-time always depends on the type of oven you are using.
- Lastly, decorate the pie with whipped cream or with the extra pieces of dough you can make little baked figurines and put them on top.
Video. How to Make

Optional:
Valores Nutricionales
Nota: Algunos enlaces en este artículo son de afiliación y podrían generar un ingreso para cocina.guru.